
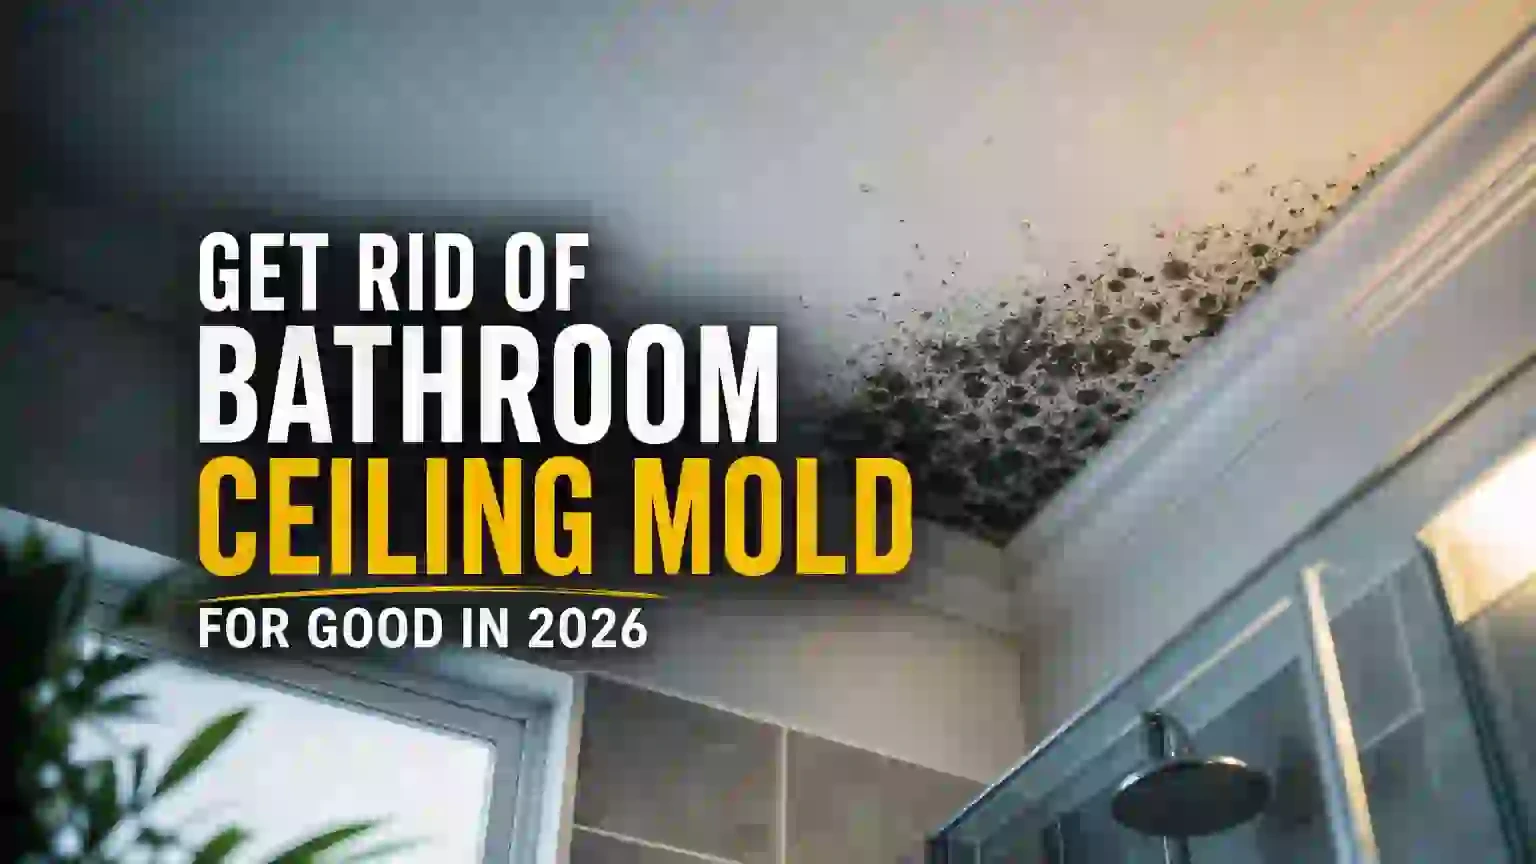
How to Get Rid of Bathroom Ceiling Mold for Good in 2026
You step into the shower, look up, and there it is – a dark, fuzzy patch spreading across the corner of your ceiling. It happens fast. Bathrooms trap moisture every single day, and mold spores need almost nothing to take hold.
The good news? You can tackle bathroom ceiling mold yourself in a single afternoon, with supplies that cost under $30. This guide walks you through every step clearly, so even if you’ve never done a home repair before, you’ll finish with a clean, protected ceiling.
What You’ll Need Before You Start
Gather everything before climbing a ladder. Stopping mid-job to hunt for supplies is how small projects turn into big headaches.
Here’s your complete materials list:
- Safety goggles and an N95 respirator mask
- Rubber gloves (heavy-duty, not dish gloves)
- Spray bottle
- White distilled vinegar OR a diluted bleach solution (1 cup bleach per 1 gallon of water)
- Stiff-bristle scrub brush or old toothbrush for tight corners
- Microfiber cloths or old rags
- Bucket of warm water
- Zinsser Bulls Eye 1-2-3 mold-blocking primer ($18–$25 per quart)
- Mold-resistant bathroom ceiling paint
- Step ladder rated for your weight plus 50 lbs of tools
Total supply cost typically runs $25–$60, depending on whether you already own the ladder and paint.
Step 1 – Protect Yourself and the Room
Safety first, and I mean that plainly. Mold releases spores when disturbed. Breathing them in during a scrubbing session can cause respiratory irritation within hours.
Put on your N95 mask and goggles before you open any cleaning solution. Suit up with rubber gloves. Open a window or run the exhaust fan to keep air moving – you want fresh air flowing in, not stale spore-filled air sitting in the room.
Lay old towels on the floor below the work area. Cleaning solutions drip, and bleach will spot a bathmat permanently. Remove any shampoo bottles or toiletries from the shower so nothing gets contaminated.
Step 2 – Apply Your Cleaning Solution
Spray your chosen cleaner directly onto the moldy area and let it sit for 10 minutes before touching it. That dwell time is the step most beginners skip, and it matters.
For light surface mold – patches under 4 inches wide – white distilled vinegar works well and is safer for painted surfaces. Spray it on undiluted. For heavier growth or dark staining, use the bleach solution. Never mix bleach and vinegar together. That combination creates toxic chlorine gas.
After 10 minutes, scrub firmly with your stiff brush. Work in small circles. You’ll see the mold lift quickly if the cleaner has had time to penetrate. Rinse the area with a damp microfiber cloth, then dry it thoroughly.
Step 3 – Scrub, Rinse, and Inspect
Once you’ve scrubbed and rinsed, step back and look carefully at the ceiling under good light. A flashlight helps here.
Surface mold comes off cleanly and leaves behind a slightly discolored patch at most. If you scrub and the stain remains dark, or if the drywall feels soft and spongy when you press it gently, you may be dealing with mold that has penetrated the drywall itself. That’s a different situation – drywall with deep mold growth typically needs to be cut out and replaced, a job that costs $200–$500 if you hire a contractor.
For most bathrooms, though, the mold is purely on the painted surface. A good scrub clears it in one pass.
Step 4 – Let It Dry Completely, Then Prime
This step requires patience. The ceiling must be bone dry before you apply any primer or paint – at minimum 24 hours in a well-ventilated bathroom, or 48 hours if your bathroom has poor airflow.
Apply one coat of Zinsser Bulls Eye 1-2-3 or a comparable mold-blocking primer. This product seals the surface and stops any residual spores from bleeding through your finish coat. Roll it on with a small 4-inch roller for a smooth result on ceilings. Let the primer dry for 1 hour before painting.
> Pro tip: Use a mold-resistant paint rated for high-humidity areas as your finish coat. Rust-Oleum and Benjamin Moore both make excellent bathroom-specific formulas. Two thin coats look far better than one thick one, and they dry faster too.
Step 5 – Apply Mold-Resistant Paint
With your primer cured, apply your first coat of mold-resistant ceiling paint. Roll slowly and overlap each stroke by about 2 inches to avoid lap marks. Let it dry 2 hours, then apply a second coat.
Two coats give you a uniform finish and double the protective barrier. Most mold-resistant paints carry a 5-year mold inhibitor guarantee when applied correctly. That’s real protection, not just marketing language.
Once the second coat dries, step back and admire the ceiling. It should look fresh, bright, and completely clean.
Common Mistakes to Avoid
Even a simple project like this has a few traps. Here are the ones I see most often:
- Skipping the mask. Mold spores are invisible and irritating. Never skip the N95, even for a small patch.
- Painting over mold without cleaning first. Paint does not kill mold. The mold grows right through it within weeks.
- Using regular ceiling paint instead of mold-resistant paint. Standard flat paint holds moisture and gives mold a perfect surface to recolonize.
- Not fixing the moisture source. If your exhaust fan is undersized or broken, mold returns no matter how well you clean. A bathroom fan should move at least 1 CFM per square foot of bathroom floor space – so a 50-square-foot bathroom needs a fan rated for at least 50 CFM.
- Rushing the dry time. Painting over a damp surface traps moisture under the paint film. The paint bubbles and peels within months, and mold finds its way back faster than before.
Pro Tips for Preventing Ceiling Mold from Coming Back
Cleaning is satisfying. Preventing the problem from returning is even better.
Run your exhaust fan during every shower and for 15 minutes after you finish. Most people turn it off the moment they step out – that’s too early. The ceiling stays damp for another 10 to 15 minutes after the water stops. Keep the fan running through that window.
If your fan is older than 10 years, test it. Hold a single sheet of toilet paper up to the grille while the fan runs. If the paper doesn’t stick, the fan isn’t pulling enough air. Replacing a bathroom exhaust fan is a 2-hour DIY job and a new unit costs $30–$80 at any hardware store.
Wipe down the ceiling near the shower with a dry microfiber cloth once a week. It takes 30 seconds and removes the moisture film before mold ever gets a chance to colonize.
Keeping Your Bathroom Ceiling Mold-Free Long Term
The real victory here isn’t just the clean ceiling you have today – it’s making sure you’re not back on that ladder in three months doing this all over again. Mold returns when moisture returns. Control the moisture and you control the mold.
Pair your cleaning work with a small upgrade: a Panasonic WhisperCeiling exhaust fan or a comparable humidity-sensing model. These fans detect moisture automatically and run until the air is genuinely dry. They cost $60–$120 and are one of the most effective upgrades a bathroom can get.
If you notice mold returning within 4 to 6 weeks of cleaning, that’s a signal – not just of surface moisture, but possibly of a slow leak in the roof or plumbing above. At that point, it’s worth calling a plumber or roofer to inspect. Catching a leak early saves thousands compared to discovering it after the drywall has rotted through.
For homeowners looking to go further, exploring bathroom ventilation upgrades and moisture-resistant drywall options can make your whole bathroom significantly more resilient year-round.
Frequently Asked Questions
Is bathroom ceiling mold dangerous to my health?
Most common bathroom mold – typically black or green Cladosporium or Penicillium species – causes respiratory irritation, especially for people with allergies or asthma. Stachybotrys chartarum (true “black mold”) is less common but more serious. If the patch is larger than 10 square feet, covers multiple surfaces, or you have health concerns, hire a certified mold remediation professional rather than DIYing it.
Can I paint over bathroom ceiling mold instead of scrubbing it?
No. Paint does not kill mold or seal it permanently. Mold grows through standard paint within 2 to 4 weeks. You must clean and kill the mold first, then use a mold-blocking primer before any finish coat.
How long does it take to clean mold off a bathroom ceiling?
Active scrubbing and cleaning takes about 30 to 60 minutes for a typical patch. Factor in 24 to 48 hours of drying time before priming, plus another 4 to 6 hours for primer and two paint coats. Plan the project over two days to do it right.
What if the mold keeps coming back every few months?
Recurring mold on the ceiling almost always points to inadequate ventilation or a hidden moisture source. Check your exhaust fan’s CFM rating against your bathroom size, look for roof or plumbing leaks above the ceiling, and consider a humidity-sensing fan. Cleaning alone won’t solve a ventilation problem.
Does vinegar or bleach work better on bathroom ceiling mold?
Both work, but for different situations. Vinegar is gentler on paint and effective for light, surface-level growth. Bleach solution is stronger and better for heavy staining or darker mold colonies. Never combine them. For most bathroom ceilings with moderate mold, bleach solution at 1 cup per gallon of water gives the most reliable result.
