
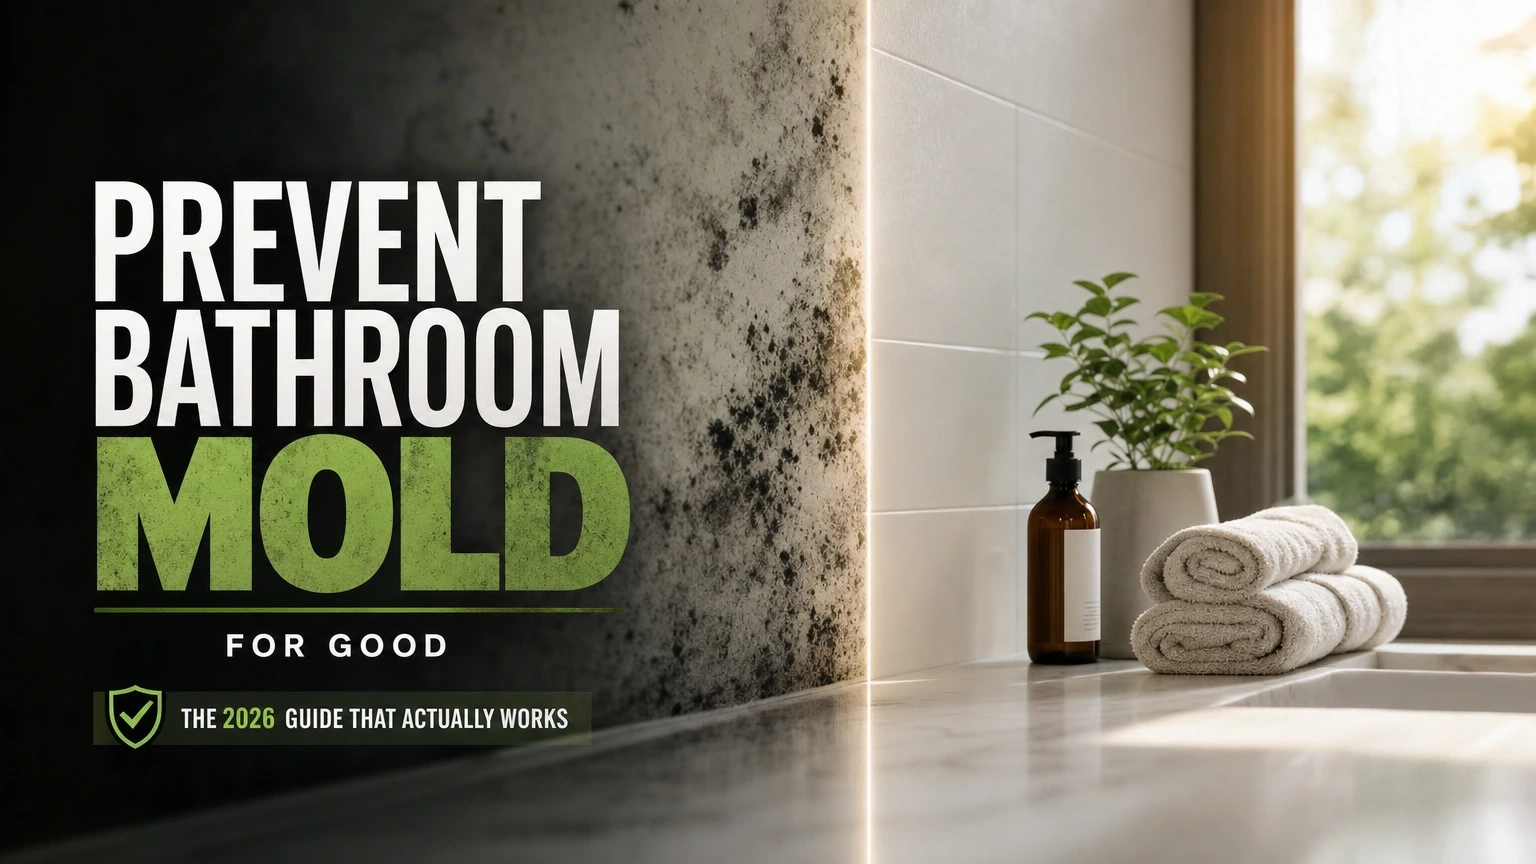
How to Prevent Bathroom Mold for Good: The 2026 Guide That Actually Works
Most people think bathroom mold is inevitable. It is not. With the right habits and a few targeted products, you can keep your bathroom mold-free for months at a stretch – no harsh chemicals required every weekend.
The real problem is not that bathrooms get wet. It is that moisture lingers. Fix the lingering, and you fix the mold. Here is exactly how to do it, step by step.
What You Will Need Before You Start
Getting the right supplies together takes about 15 minutes and costs far less than a mold remediation call, which can run $500–$3,000 depending on severity. Gather these before you begin:
- Bathroom exhaust fan (rated at least 50 CFM for a standard 5×8 foot bathroom)
- Squeegee – a simple 10-inch rubber-blade model works perfectly
- DampRid moisture absorber or a small dehumidifier (30-pint capacity for tight spaces)
- White distilled vinegar or a dedicated mold-inhibiting spray like Mold Armor
- Grout sealer (look for a penetrating silicone formula)
- Caulk gun and mold-resistant silicone caulk
- Microfiber cloths – at least 3 or 4
That is the full kit. Nothing exotic, nothing expensive. Most of it you may already own.
Step 1 – Fix Your Ventilation First
Poor ventilation causes roughly 80% of bathroom mold problems. This is the single biggest lever you can pull.
Check your existing exhaust fan by holding a square of toilet paper near the vent grille while the fan runs. If the paper barely moves, your fan is undersized or clogged. Clean the grille with a vacuum brush attachment. If airflow is still weak, replace the unit. A quality fan like the Broan-NuTone 70 CFM costs $25–$60 and installs in under two hours for a confident DIYer.
Run the fan during every shower and keep it running for 20 minutes afterward. That single habit removes the bulk of airborne moisture before it can settle on walls and grout.
Step 2 – Squeegee Walls and Doors After Every Shower
This sounds tedious. It takes 45 seconds. Seriously.
After each shower, run a squeegee down the tile walls and glass door. You remove 70–80% of the standing water that would otherwise evaporate slowly into the room. Hang the squeegee on a suction hook inside the shower so it is always within reach – out of sight, out of mind is the enemy here.
Pay extra attention to the bottom 6 inches of tile and the shower door track. Those low areas stay damp longest and are where mold colonies almost always start.
Step 3 – Seal Your Grout and Recaulk Problem Areas
Unsealed grout is basically a sponge. Water soaks in, mold takes hold inside the porous surface, and no amount of surface scrubbing fully removes it.
Apply a penetrating silicone grout sealer once a year. Brands like Aqua Mix Sealer’s Choice Gold dry in about 2 hours and repel moisture for 12 months in normal use. Wipe on, let it absorb for 5 minutes, wipe off the excess. That is the whole process.
Check your caulk lines along the tub edge and shower corners. Any caulk that is cracked, discolored, or pulling away from the wall needs to go. Scrape it out, let the area dry for 24 hours, then apply a fresh bead of mold-resistant silicone caulk. Polyblend and GE Sealants both make solid options under $8 a tube.
Step 4 – Control Humidity Between Showers
The shower is not the only moisture source. Wet towels, damp bath mats, and even a running hot tap all raise indoor humidity. Aim to keep your bathroom below 60% relative humidity – mold struggles to grow below that threshold.
A small hygrometer (under $12 on Amazon) tells you exactly where your bathroom sits. If you are consistently above 60%, add a DampRid refillable container or run a compact dehumidifier for a few hours each day. Hang towels spread open, not bunched on a hook. Swap out bath mats every day or two and wash them weekly.
Cracking a window for 10 minutes after a shower helps too, especially in summer when outside air is drier than the steam-saturated room.
Pro Tips From Years of Bathroom Work
> Pro tip: The most overlooked mold spot in any bathroom is behind the toilet and along the baseboard near the tub. Wipe those areas with a 50/50 vinegar-water solution once a month. Vinegar kills about 82% of mold species on contact, costs almost nothing, and leaves no residue that could damage grout or caulk. Keep a small spray bottle under the sink so the habit sticks.
Common Mistakes That Let Mold Come Back
Even homeowners who try hard often slip up in predictable ways. Watch for these:
- Turning the fan off too soon. Twenty minutes is the minimum. Most people flip it off when they leave the bathroom – sometimes just 3 or 4 minutes in. The moisture is still airborne.
- Scrubbing mold without killing it first. Dry-scrubbing mold spreads spores across the room. Always spray with vinegar or a mold-inhibiting cleaner, wait 10 minutes, then wipe.
- Ignoring the exhaust fan duct. The fan pulls moist air out, but if the duct vents into the attic instead of outside, you are just moving the mold problem upstairs. Check that your duct terminates at an exterior wall or roof cap.
- Using regular caulk instead of mold-resistant caulk. Standard caulk starts harboring mold within 6 months in a wet bathroom. The mold-resistant version costs the same and lasts years longer.
- Skipping the bath mat rotation. A mat that stays damp on the floor for three days is a mold incubator sitting right in the middle of your bathroom.
What to Do If Mold Has Already Appeared
Catching mold early makes a huge difference. A spot smaller than 10 square inches is a DIY job. Anything larger – or any mold on drywall behind tile – warrants a call to a certified mold remediation pro.
For small surface patches, spray undiluted white vinegar directly on the affected grout or caulk. Let it sit for 15 minutes, then scrub with a stiff-bristled grout brush. Rinse, dry the area, and apply a fresh coat of grout sealer once it is completely dry. If the caulk itself is moldy all the way through, remove and replace it – no amount of cleaning fixes compromised caulk.
Wear gloves and open a window while you work. Mold spores irritate airways, and a little ventilation goes a long way.
Keeping Your Bathroom Mold-Free Long Term
The strategies above work best as a system, not a one-time fix. Ventilation handles the bulk of the moisture load. Squeegeeing removes what ventilation misses. Sealing cuts off the entry points mold needs to root in. And monthly spot-cleaning catches anything that slips through.
Think of it as a 3-minute daily routine plus a 30-minute monthly check. That is genuinely all it takes to keep a bathroom clean and dry year-round. I have seen bathrooms in humid coastal climates go two full years without a single mold spot using exactly this approach.
If you want to go further, look into whole-bathroom upgrades like tile-to-ceiling shower surrounds (which eliminate grout lines entirely) or heated towel bars that dry the room faster. Those projects take a weekend and make the daily maintenance even easier.
When you implement how to prevent bathroom mold, revisit the checklist above against your real constraints.
Frequently Asked Questions
How often should I clean my bathroom to prevent mold?
A quick wipe-down of wet surfaces every day or two is more effective than a deep clean once a month. Focus on grout lines, the shower door track, and the tub edge. A monthly spray with diluted vinegar keeps spore counts low between deeper cleans.
Does bathroom paint help prevent mold?
Yes, meaningfully. Mold-resistant paints like Zinsser Perma-White contain antimicrobial agents that inhibit mold and mildew growth on the painted surface. They work best on ceilings and upper walls where condensation collects. They are not a substitute for ventilation, but they add a useful extra layer of protection.
What humidity level prevents bathroom mold?
Keep relative humidity below 60% at all times. Ideally, aim for 45–55% if your bathroom allows it. A cheap hygrometer tells you exactly where you stand, and a small exhaust fan or dehumidifier can bring most bathrooms into that range within 20 minutes of a shower.
Can mold come back after I clean it?
It can, if the underlying moisture problem is not addressed. Cleaning removes visible mold but does not fix wet grout, poor ventilation, or cracked caulk. Treat the root cause – airflow, sealing, and daily drying habits – and recurrence drops sharply.
Is black mold in the bathroom dangerous?
Stachybotrys chartarum (true black mold) is less common than it looks – most dark bathroom mold is Cladosporium or Aspergillus, which are less toxic but still worth removing promptly. If you see a large dark patch, especially on drywall, consult the CDC’s mold guidance and consider a professional assessment before disturbing it.
