
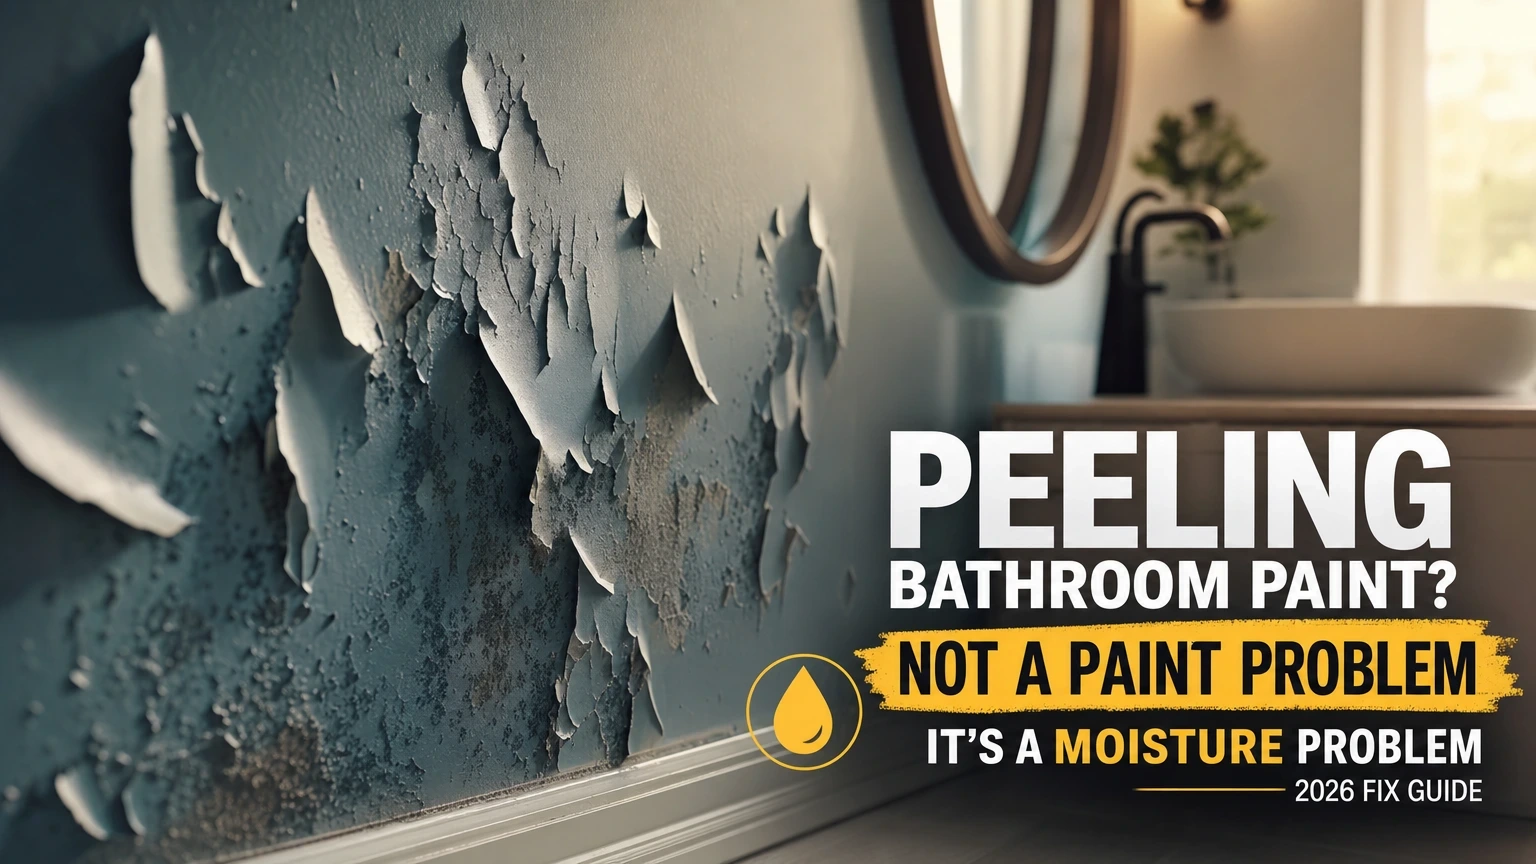
Bathroom Paint Peeling Is Not a Paint Problem – It’s a Moisture Problem (2026 Fix Guide)
Most homeowners grab a scraper and a fresh can of paint the moment they spot peeling walls. That’s the wrong move. Peeling bathroom paint is almost always a symptom of trapped moisture, not a surface failure – and repainting over it without fixing the root cause means you’ll be back in the same spot in six months.
The good news? This is a beginner-friendly repair. With the right prep work and a few targeted products, you can fix peeling bathroom walls in a single weekend for under $80–$120 in materials.
What You’ll Need Before You Start
Gather everything before touching the walls. Running to the hardware store mid-project is how corners get cut.
- Plastic drop cloths and painter’s tape
- Putty knife or 3-inch scraper
- 80-grit and 120-grit sandpaper (or a sanding block)
- TSP (trisodium phosphate) cleaner or a mold-killing bathroom cleaner
- Latex-based primer, specifically labeled for high-humidity areas
- Bathroom-grade paint with a satin or semi-gloss finish
- 2-inch angled brush and a 4-inch mini roller
- Spackling compound or lightweight joint compound
- Exhaust fan (borrow one if yours is broken – more on that shortly)
Total material cost typically runs $65–$110 at a store like Home Depot or Lowe’s, depending on paint brand and room size.
Step 1 – Find the Moisture Source First
Before a single flake comes off the wall, spend 15 minutes playing detective. This step is non-negotiable.
Check your exhaust fan. Hold a single square of toilet paper near the vent while the fan runs. If it doesn’t get pulled flat against the grille, the fan is either underpowered or clogged. A bathroom fan should move at least 50 CFM (cubic feet per minute) for a standard 5×8 foot bathroom. Most fans fail silently after 5 to 7 years of use.
Also look for caulk gaps around the tub, shower pan, or sink. A 1/4-inch gap in caulk lets enough steam migrate into the wall cavity to cause widespread peeling within a few months. Check the ceiling corners too – that’s where condensation collects first.
Fix the ventilation or seal the gaps before you do anything else. Skipping this step is the single biggest reason bathroom paint peeling comes back after a fresh coat.
Step 2 – Remove All the Loose Paint
Now you can pick up the scraper. Use a 3-inch putty knife and work at a low angle – roughly 30 degrees – against the wall. You’re not gouging; you’re lifting. Let the tool do the work.
Remove every flake that comes off easily. Don’t stop at the obvious bubbles. Press lightly on the surrounding paint with your thumb. If it feels hollow or spongy, scrape that section too. Leaving loose edges under new paint is a guaranteed failure point.
Once the loose material is gone, sand the edges of the scraped areas with 80-grit sandpaper to feather them smooth. Follow with 120-grit for a cleaner surface. You want a gradual transition, not a sharp cliff, between the bare wall and the intact paint.
Step 3 – Clean, Treat, and Dry the Surface
Scraping exposes whatever was living under that paint. In bathrooms, that’s often a thin layer of mold or mildew – even if it’s not visible yet.
Mix TSP cleaner at the standard dilution (roughly 1 tablespoon per gallon of warm water) and scrub the entire affected area with a stiff sponge. Let it sit for 5 minutes before rinsing. If you spot any gray or black discoloration, follow up with a mold-killing solution like Zinsser Mold Killing Primer applied directly – that product doubles as both a treatment and a primer base.
Drying time matters here. Give the wall a full 24 hours before priming, even if it looks dry after an hour. Moisture hides in drywall paper and plaster for longer than you’d expect.
Step 4 – Fill, Prime, and Prepare
Patching small divots before priming makes a real difference in the final look. Apply a thin layer of spackling compound to any gouges or scrape marks. Let it dry completely – usually 1 to 2 hours – then sand smooth with 120-grit paper.
Now prime. Use a dedicated high-humidity primer like KILZ Premium or Zinsser Bulls Eye 1-2-3. These are specifically formulated to block moisture vapor and improve paint adhesion on problem surfaces. Standard drywall primer will not hold up in a bathroom long-term.
Apply the primer with a 2-inch brush along edges and corners, then roll the flat sections. One coat is usually enough if the surface is stable. Allow 2 full hours of dry time before painting.
> Pro tip: If the peeling covered more than 30% of a single wall, prime the entire wall – not just the repaired patch. Spot-priming on large areas often shows through the final paint coat as uneven sheen.
Step 5 – Apply Bathroom-Grade Paint Correctly
Paint choice is where a lot of DIYers stumble. Flat paint has no place in a bathroom. Full stop. You need a satin or semi-gloss finish because those sheens resist moisture absorption and wipe clean without breaking down.
Two thin coats beat one thick coat every time. Apply your first coat with a 4-inch mini roller using light, even pressure. Don’t overload the roller – excess paint sags and creates texture problems. Let the first coat dry for 2 hours, then apply the second.
Brands like Behr Premium Plus and Benjamin Moore Aura Bath & Spa are both solid choices in the $45–$65 per gallon range. Both are mold-resistant and designed for high-humidity rooms.
Pro Tips That Make the Difference
These are the details that separate a repair lasting 2 years from one lasting 10.
> Pro tip: Run your exhaust fan for 15 minutes AFTER every shower, not just during. Most moisture actually evaporates off wet surfaces after the water stops. That post-shower window is when walls absorb the most vapor.
A few other habits worth building:
- Crack the bathroom door slightly during and after showers if your fan is weak
- Recaulk the tub and shower surround every 3 to 4 years as a maintenance baseline
- Touch up paint chips within a week of noticing them – small breaches let moisture in fast
- In older homes, check whether the exhaust fan vents outside or just into the attic (attic venting is a code violation in most states and a major moisture trap)
Common Mistakes That Cause Bathroom Paint to Peel Again
Painting Over Damp Walls
This is the most common error. Paint applied to a wall with even 5% residual moisture content will lose adhesion within weeks. If you’re unsure, buy a cheap pin-type moisture meter ($15–$25 at most hardware stores). A reading below 12% is safe to paint over.
Skipping Primer on Bare Spots
Bare drywall is porous. Paint applied directly to it soaks in unevenly, dries thin in spots, and peels within months. Every bare patch needs primer – no exceptions.
Using the Wrong Paint Sheen
Flat paint in a bathroom is a slow-motion disaster. It absorbs steam, grows mold, and peels within a year in active bathrooms. Satin is the minimum. Semi-gloss is better near the shower.
Not Fixing Ventilation
You can strip and repaint perfectly, but if the fan still moves less than 50 CFM or the caulk is still cracked, the moisture problem returns. The paint is not the fix – it’s the finish on top of the fix.
Your Bathroom Walls Can Stay Solid for Years
Fixing peeling paint in a bathroom is genuinely achievable in a weekend. The work itself is not complicated. What matters is doing it in the right order – moisture source first, surface prep second, quality materials third.
A repair done properly with a mold-killing primer and a semi-gloss bathroom paint will hold up for 5 to 8 years in a well-ventilated bathroom. That’s a realistic outcome, not an optimistic one. I’ve seen bathrooms repaired this way in 2021 still looking sharp in 2026 with nothing more than basic upkeep.
The bigger picture: your bathroom walls are a moisture management system, not just a decorative surface. Once you start thinking about them that way, the maintenance decisions get much simpler. If you’re tackling other bathroom upgrades alongside this repair, looking into shower tile caulking and exhaust fan replacement as a combined project makes a lot of sense.
Frequently asked questions
Why does bathroom paint keep peeling even after I repaint it?
The paint itself is rarely the problem. Peeling recurs because the moisture source was never fixed – usually an undersized exhaust fan, cracked caulk, or a wall that wasn’t fully dry before painting. Fix the ventilation and seal any water entry points before repainting, and the problem stops repeating.
What type of paint is best for a bathroom with a lot of steam?
Choose a satin or semi-gloss finish labeled specifically for high-humidity or bathroom use. Brands like Behr Premium Plus and Benjamin Moore Aura Bath & Spa include mold inhibitors and moisture-resistant binders. Flat and eggshell finishes absorb steam and fail quickly in active bathrooms.
Can I paint over peeling bathroom paint without scraping it all off?
No. Any paint you apply over loose or bubbling sections will peel with it. You need to remove every flake that lifts easily, feather the edges smooth with sandpaper, and prime bare spots before repainting. Cutting this step short means the new coat fails in the same places within months.
How long should I wait after fixing a leak before repainting?
At minimum, 48 to 72 hours after the leak is repaired and the area is visibly dry. For walls that were wet for more than a few days, wait a full week and verify with a moisture meter that readings are below 12% before applying primer or paint.
Is peeling bathroom paint a sign of mold behind the wall?
It can be. If the peeling is widespread, if the drywall feels soft when pressed, or if you see gray or black staining under the paint, mold is likely present. Small surface mold can be treated with a mold-killing primer. Soft or crumbling drywall needs to be cut out and replaced before any painting begins.
