
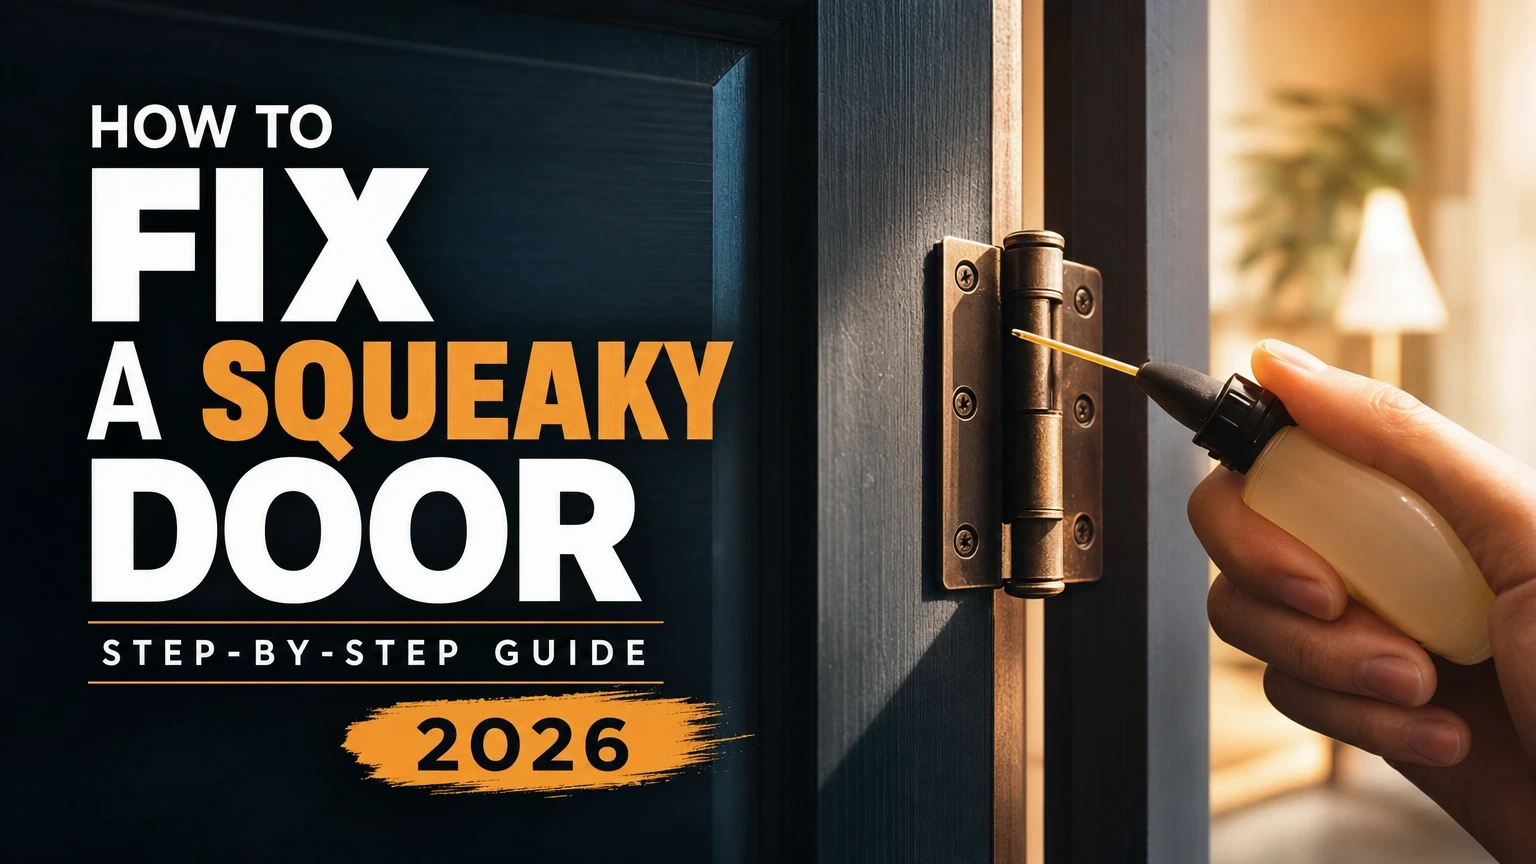
How to Fix a Squeaky Door in 2026: A Beginner’s Step-by-Step Guide
For how to fix squeaky door, the steps below focus on what actually moves results in the first weeks.
How to Fix a Squeaky Door in 2026: A Beginner’s Step-by-Step Guide
You close the bedroom door at midnight and the whole house groans. Or maybe every time a family member leaves the bathroom, that sharp creak announces it to everyone within earshot. A squeaky door is one of those small annoyances that somehow gets louder every week – and the longer you ignore it, the more it feels like a major project.
It is not. Most squeaky doors take under 30 minutes to fix, cost less than $10, and need no special skills. Here is exactly what to do.
What You Will Need Before You Start
Gather these items before touching the door. Having everything within reach saves you from holding a door open with one hand while hunting for a screwdriver with the other.
- 3-in-1 oil or WD-40 Specialist White Lithium Grease
- A flathead screwdriver and a hammer
- Petroleum jelly (Vaseline) or a plain wax candle
- Steel wool (fine grade, 0000)
- A wooden golf tee or toothpicks plus wood glue (for loose hinge screws)
- A drill with a 1/8-inch bit (only if screws are stripped)
- Painter’s tape and a drop cloth (optional but smart)
Total cost for this kit: roughly $8-$15 if you are buying from scratch. You probably already own half of it.
Step 1 – Find the Exact Source of the Squeak
Before you put anything on the hinges, you need to know exactly where the noise is coming from. This sounds obvious, but I have seen plenty of homeowners grease every hinge on a door only to find the squeak was actually the door rubbing against the frame.
Open and close the door slowly. Listen for whether the noise happens at the top, middle, or bottom of the swing. Have someone else hold a flashlight on each hinge while you move the door. Watch for the hinge that flexes or shows rust. Rust is a clear sign – orange-brown discoloration on the hinge pin or barrel means metal-on-metal friction is your culprit. Mark that hinge with a small piece of painter’s tape so you do not forget.
Step 2 – Remove the Hinge Pin
With the source identified, it is time to pull the hinge pin. This is the thin metal rod running vertically through the hinge barrel. Removing it gives you full access to clean and lubricate the parts that are actually grinding.
Place your flathead screwdriver under the bottom of the pin cap and tap the handle gently with a hammer. The pin should slide upward and out within 3-5 taps. Do not yank – work it out slowly. If the pin is painted over (common in older homes), score around the cap edge with a utility knife first. Set the pin on your drop cloth. You will be surprised how often the pin itself is the problem: bent slightly, corroded, or completely dry.
Step 3 – Clean the Pin and Hinge Barrel
Here is the step most people skip – and it is the reason their squeak comes back in two weeks.
Wipe the pin down with a dry rag. Then wrap a small piece of 0000 steel wool around it and scrub off any rust or grime. Do the same inside the hinge barrel using a folded corner of steel wool. You are aiming for bare, shiny metal. This takes about 2-3 minutes per hinge. Skipping this and lubricating over rust just traps the debris and creates a grinding paste. Clean metal holds lubrication properly and stays quiet far longer.
Step 4 – Lubricate the Hinge
Now for the satisfying part. Apply your chosen lubricant directly to the hinge pin and inside the barrel. A few options work well here, and they are not all equal.
White Lithium Grease
This is my top pick for interior doors. It is thick enough to stay in place, does not attract dust the way standard oil does, and lasts 12-18 months before needing a reapplication. WD-40 Specialist White Lithium Grease in the spray can runs about $7 at any hardware store. Apply a 2-3 second burst inside the barrel, coat the pin, and you are done.
Petroleum Jelly
A solid backup when you have nothing else. Vaseline is surprisingly effective – it is thick, non-drip, and costs almost nothing. Rub it generously along the full length of the pin with your finger. The downside: it tends to attract lint and dust over time, so expect to reapply every 6-8 months.
Wax or Soap
Rub a plain wax candle or a bar of soap along the pin. This works well as a short-term fix – often quieting the door for 2-3 months. Best for renters or anyone who wants a zero-product solution right now.
Slide the pin back into the barrel after lubricating. Tap it down gently with the hammer until it sits fully seated. Open and close the door 8-10 times to work the lubricant into the joint.
Step 5 – Tighten or Repair Loose Hinge Screws
A squeak that returns within a few days usually has a second cause: loose hinge screws. When screws are stripped, the hinge shifts slightly with every swing – and that tiny movement creates noise even through fresh lubrication.
Check each screw. If any spin freely without gripping, the wood behind them is stripped out. The fix is easier than it sounds. Remove the screw, dip a wooden golf tee or 2-3 toothpicks in wood glue, pack them into the hole, and let it dry for at least 1 hour. Snap off the excess flush with the surface. Reinstall the original screw. The wood filler gives the threads something solid to bite into again. This repair typically holds for 3-5 years with normal use.
Pro Tips That Make the Fix Last
A clean lubrication job is good. These habits make it last.
- Wipe excess lubricant off the hinge face after reinstalling the pin. Grease on the painted surface attracts dirt and can stain light-colored trim within a few weeks.
- Check all hinges on the door, not just the one that squeaked. Hinges dry out at similar rates, so treating all three takes an extra 5 minutes and prevents the next squeak before it starts.
- If the door sticks or drags along the floor (common after humid summers), tighten the top hinge screws first. A sagging door puts uneven pressure on all three hinges and will keep squeaking no matter how much you lubricate.
- For exterior doors, use a marine-grade grease rather than standard lithium. Exterior hinges face rain, temperature swings, and humidity that eat through indoor lubricants in under 3 months.
- Reapply lubrication once a year as part of a general home maintenance pass. Takes 10 minutes for every door in the house.
Common Mistakes That Bring the Squeak Back
Even a straightforward repair goes wrong when a few habits creep in. Watch out for these.
The biggest one: using WD-40 standard formula as a long-term fix. The original WD-40 is a water displacer and light solvent – not a lubricant. It quiets the squeak for a day or two, then evaporates and leaves the metal drier than before. Use the Specialist White Lithium Grease version instead, or choose petroleum jelly.
Another common error is lubricating without cleaning. Grease over rust just turns into an abrasive slurry. Always clean the pin and barrel first, even if it looks “fine.”
Overtightening hinge screws is a third mistake. Cranking screws too tight can strip the wood hole immediately or crack older door frames. Snug is enough – the screw should feel firm, not forced.
Finally, ignoring a door that rubs the frame. If the squeak comes with resistance – the door feels stiff or catches slightly – lubrication alone will not solve it. The door may need a small amount of material planed from the edge, or the strike plate adjusted. That is a 20-minute job but a different one.
Your Door Should Be Silent by Tonight
Fixing a squeaky door is genuinely one of the most satisfying quick wins in home maintenance. You spend 20-30 minutes, spend less than $15, and get a result you notice every single day. No contractor, no special skills, no waiting.
Start with the hinge pin. Clean it, lubricate it, reseat it. If the squeak returns, check the screws. If the door rubs the frame, look at the hinge alignment before reaching for a plane. Work through the steps in order and you will find the cause almost every time.
If you enjoyed solving this one, door hardware is a great gateway into broader home maintenance – things like lubricating window tracks, adjusting cabinet hinges, and weatherstripping exterior doors all follow the same clean-lubricate-tighten logic and can save you real money on heating and cooling costs.
When you implement how to fix squeaky door, revisit the checklist above against your real constraints.
Frequently asked questions
How long does it take to fix a squeaky door?
Most squeaky door repairs take 20-30 minutes from start to finish. If you also need to repair stripped screw holes with wood glue, add 1 hour of drying time before reinstalling the screws – though you can work on other doors during that wait.
Can I fix a squeaky door without removing the hinge pin?
Yes, for a quick fix. Spray lubricant directly into the hinge gap while opening and closing the door to work it in. This works for 2-4 weeks in most cases. For a lasting repair, removing the pin and cleaning it properly is worth the extra 5 minutes.
Why does my door squeak again after I already fixed it?
The most common reason is using the wrong lubricant – standard WD-40 evaporates quickly and leaves metal dry. The second reason is dirty hinges: lubricating over rust or grime means the debris keeps grinding. Clean the pin with steel wool before reapplying any lubricant.
What is the best lubricant for squeaky door hinges?
White lithium grease is the best all-around choice for interior doors. It stays in place, lasts 12-18 months, and does not attract dust the way light oils do. Petroleum jelly is a reliable backup. Avoid cooking oils – they go rancid and attract insects over time.
My door squeaks but the hinges look fine. What else could it be?
The door may be rubbing against the frame or the floor. Close the door slowly and watch the edges carefully for contact points. A door that rubs at the top corner usually has a loose bottom hinge. You can also run a piece of paper around the door edge while it is closed – anywhere the paper tears or catches is a friction point worth addressing.
